In the ever-evolving world of acting, self-tapes have become a crucial tool for auditions. These video submissions allow actors to showcase their talents from anywhere, providing flexibility and broadening opportunities. To create an impactful self-tape, several key elements must be considered.
Firstly, setting up a professional environment is essential. Choose a quiet space with a clean, neutral background to ensure the focus remains on your performance (preferably a plain white or blue background). Good lighting is crucial; natural light works best, but soft, even artificial lighting can also be effective. Avoid harsh shadows and overly bright spots.
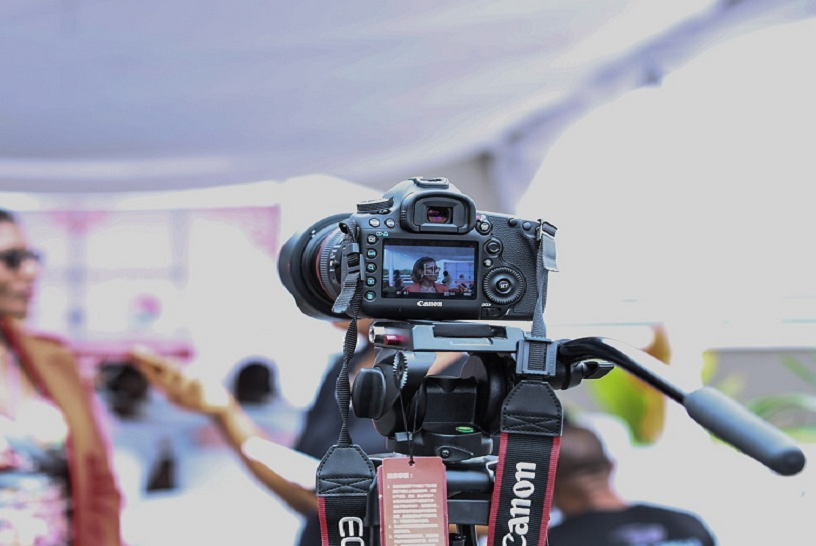
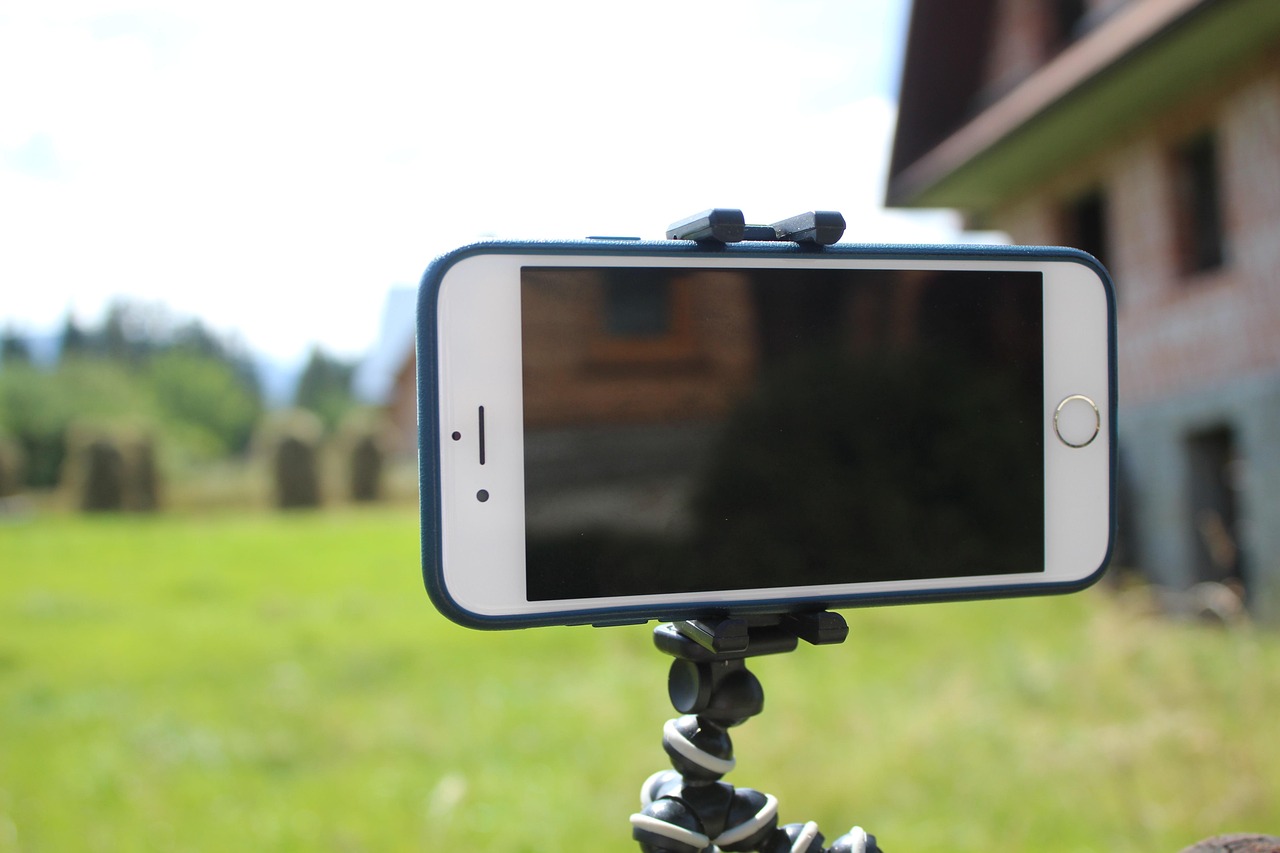
Investing in quality equipment, such as a decent camera and microphone, can significantly enhance the clarity of your self-tape. However, a smartphone with a good camera can suffice if used correctly. Position the camera at eye level and maintain a medium shot, typically framing from the chest up and a few inches above your head, unless specified otherwise.
Preparation is key. Learn your lines thoroughly and understand your character’s motivations. Practice multiple takes to find the one that best captures your performance. It’s often helpful to have a reader off-camera to feed you lines, maintaining the flow and authenticity of the scene.
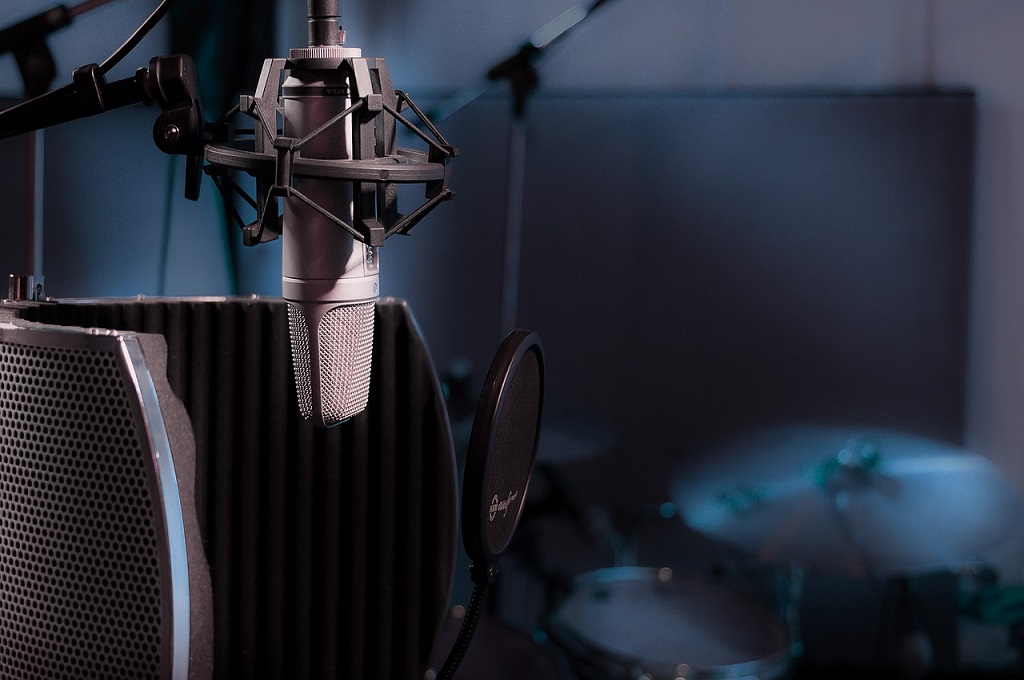
Pay attention to sound quality. Ensure the microphone clearly captures your voice without background noise. Speak clearly and project your voice as you would in a live audition.
Editing should be minimal. Trim the start and end to remove any unnecessary footage, don’t use any filters and make sure the final cut is crisp and professional.
In conclusion, a well-crafted self-tape can open doors in the acting world. By paying attention to detail and presenting your best self, you can make a lasting impression on casting directors, increasing your chances of landing the role.


